It’s been one week brewing with the Hario V60 and it has quickly become a favourite for me amongst percolation brewers. Cone shaped pour-over brewers are a popular pick amongst home brewers and cafes alike. They have been known to provide a good quality brew with little mess or expertise required. That being said, there are many things that can be done to elevate your coffee game to the next level! Having previously used a Chemex I was seeking a brewer that was easy to use and suitable for just one cup (not a strength of the Chemex), and the V60 checks both of those boxes. Keep reading to learn about the method I have adapted from popular coffee guru James Hoffman to create what I would describe as the perfect 3-minute brew.
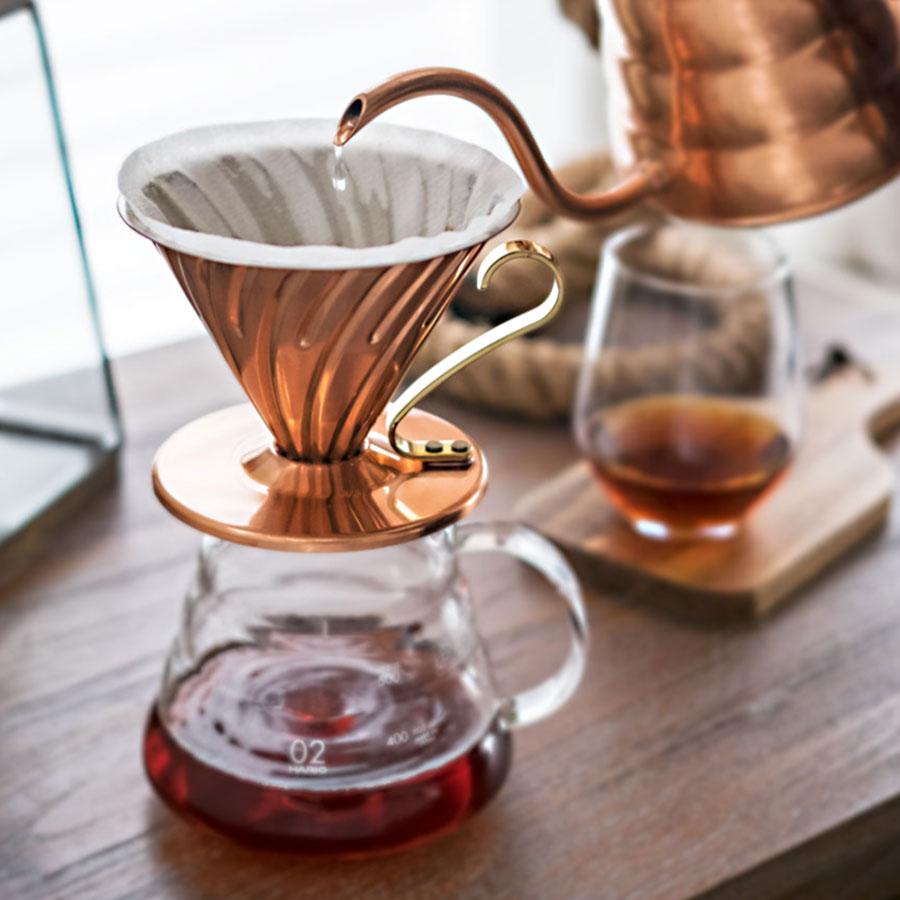
Image Source: https://www.espressoplanet.com/Hario-V60-Coffee-Dripper-Copper-02-VDPC-02CP.html
The good:
- Small and easy to clean
- Quick to brew with
- Visually satisfying
- Smartly designed with little to no intervention required in the brewing process.
The Bad:
- Messy due to smaller size
- Doesn’t fit on top of most wide mugs
- Brewing small-portions can be easy to brew colder than ideal. Smaller volume means quicker time to room temperature. Keep this in mind and preheat all of your equipment as you go.
What it Is:
The V60 is a cone-shaped, zero-resistance percolation brewer that sits directly on top of the cup you will ultimately drink from. Hario and replicas are made from either porcelain, glass , metal or plastic with no huge differences in the quality brew produced by each. The only key difference relates to the temperature of water needed to rinse the filter paper (but we can get into that later). Hario is the benchmark of this particular technology, however brands like Nexo and Belitto have taken a crack at a similar style brewers as well with some subtle differences in design to be covered in a later post.
Best Used For:
The V60 is best used for a smaller portion of coffee (1-2 cups or 250-500ml). Any more than that will prove inefficient and time-consuming, and would be better suited for a chemex; working in a similar way to the Hario with only slight
How it Works:
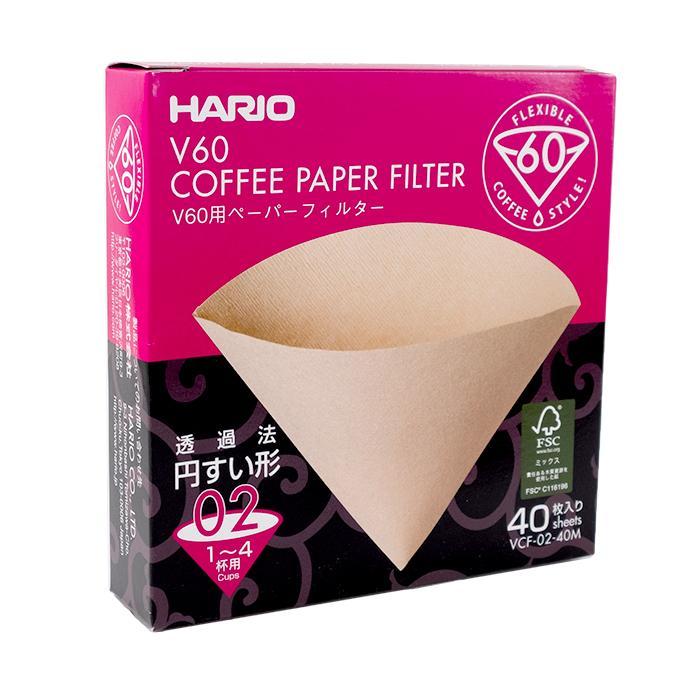
Curved indentations around a cone-shaped funnel allow fluid to flow horizontally as well as vertically through the filter paper and down through a larger opening at the bottom to create a quick and effective brew. The zero-resistance design of the V60 reduces the potential of over-extracting the grinds. Hario produces their own cone-shaped filters (bleached or un-bleached depending on your preference) available on popular sites like Amazon.com as well as at many local coffee shops. As with other pour-over styles, a medium-coarse grind is ideal for your beans and a water temperature of 95F (approx. 30 seconds off a boil). Using a gooseneck kettle, bloom the grinds and follow with 2 consistent pours of water agitating a flat bed of grinds until you reach a desired portion of coffee. Sounds easy enough right? Let’s get into how it’s done.

What’s Needed to Brew with a V60?
- A V60 (obviously!)
- A digital scale
- Hot water
- A spoon
- A gooseneck kettle
- Coffee (whole bean is best)
- Coffee grinder (if needed)
My Thoughts
A coffee brewer fit for everyday use should be easy to use before you’ve had your first cup of coffee! If the everyday brewer can’t muster up the energy, desire and brainpower to brew their first cup in a V60 before they jet off to work or during a quick break from the work from home grind, it has no place in my kitchen. Luckily there are a lot of benefits to the simplicity of the V60. The large opening at the bottom of the brewer allows it to brew quickly with zero-resistance, a quality that allows for a hotter cup of coffee. The glass version looks elegant and allows you to see the droplets of coffee stream down the cone (visually satisfying and just makes the entire process of brewing that much more enjoyable). Before the V60 I’ve almost exclusively brewed pour-over with a Chemex. The design and nature of the V60 is such that there is no need for a pour spout (as there is with a Chemex), and without such concern there is no need to worry about properly positioning the filter paper or venting the brewer. The V60’s compact nature has some drawbacks, including the small capacity to contain liquid making it very easy to spill and messy overall. I found that I had to wait for water to draw down to about 2/3 capacity before I could swirl the grinds, when I would ideally like to do this at a fuller capacity. Furthermore, I use a Sboly burr grinder at home, which grinds coffee into a wide-mouthed receptacle; leading me to spill grinds easily due to the size difference between the brewer and the grinder. Lastly, say goodbye to your wide mugs! I love wide mugs for aesthetics; however with a 5.5inch width, the V60 simply isn’t large enough to fit most wide mugs.
Procedure
Dan’s interpretation of the James Hoffman Technique (Linked Below)
- Prepare your tools! On top of an electric scale, place your mug and mount your V60 with filter. Grab a spoon and begin to boil your water.
- Rinse your filter paper! Grab your coffee mug, place your V60 on top and make a fold to the paper at the binding (shown below). If you are using a plastic V60, hot tap water will suffice for rinsing your filter paper. For all other materials, use boiling water straight from your brewing kettle. Soak the entirety of the paper and tip out the collected water in the mug below before brewing.
Rinsing your filter paper before brewing accomplishes a few things: it will ensure you don’t get any papery taste in your cup, and it will preheat the brewer and the mug so that you can retain as much heat as possible during the brewing process. - Boil your water! In a gooseneck kettle, heat your water to 95C. If you have an electric kettle with such controls, set to heat and hold at 95C until ready to use. If you are using a basic kettle, bring the water to a boil and let it sit off the heat for 30 seconds to reach the optimal brewing temperature. Remember, the hotter the water the quicker the brew (boiling water in a different kettle than the one you pour from will cool down your water quicker than desired).
- Grind your coffee! Grinding your coffee at home is an important factor to improving the quality of your brew. Grind your beans to a medium-coarseness no sooner than right before you brew to retain the natural aromatics of the coffee.
- Measure your coffee! I’ve found that 20 grams of coffee grinds will brew 250ml of medium-strength coffee. Once you’ve added your coffee grinds, zero-out your scale.
- Bloom your coffee! Blooming your coffee is the important step of removing carbon dioxide from your coffee, improving taste and allowing water to flow easier through your grinds during the brew. Pour your freshly-ground coffee into your hario and create a well in the middle. Pour enough water to hydrate all of the coffee without drowning it. (Start with a 1:2 coffee to water ratio, go as high as 1:2.5 if the grinds are still dry). Swirl your V60 to mix the water and grinds to aid in hydrating the entirety of your coffee. At this point, start the timer on your scale and let sit for 30-45 seconds until the surface stops bubbling.
- Time to brew! You will be brewing in two distinct pours. Begin pouring hot water over in an spiralling motion until you have added 60% of the entirety of the water you wish you add. (If you are brewing 250ml of coffee, brew until your scale reads 150 grams in weight). That is, if you used 40 grams of water to bloom your grinds, you will be adding 110 grams of coffee in your first pour. Carefully stir your grinds once clockwise, and once counterclockwise being mindful not to create a vortex in the water. This will knock off any grinds stuck to the wall. Alternatively you can give your V60 a gentle swirl, which will create a flat bed of grinds at the bottom of your brewer and produce an even extraction! Add the remaining water slowly but evenly keeping the cone full until you reach the desired amount of water, once the pour is complete, again in a spiralling motion repeat the process of swirling the V60.
- Let the V60 draw down! Once you have added all the desired water, swirled the V60 to flatten out the coffee bed and your scale reaches the amount of coffee you want to drink, hands-off! Let the water draw down until it’s no longer visible at the surface. Ideally when the water draws down you have a perfectly flat bed of coffee left in the cone. (The timer should read approximately 3 to 3.5 minutes total brew-time by the end of the process). Remove your V60, stir your coffee well with a clean spoon and enjoy!
Notes
- The Hario V60 is quite affordable at $34.99 CAD for the glass version on Amazon (typically includes filters). The equally viable plastic version is available on the Hario website for only $10.
- Filters will cost anywhere from $7-$11 per pack of 100 depending on the quantity and where you buy.
- Details above apply directly to paper filtration (non-reusable)
Sources:
James Hoffman’s “The Ultimate V60 Technique” https://youtu.be/AI4ynXzkSQo
Hario Canada https://www.hario-canada.ca/
Detour Coffee https://detourcoffee.com/products/hario-v60-brown-filters-size-2-40pk
Espresso Planet https://www.espressoplanet.com/Hario-V60-Coffee-Dripper-Copper-02-VDPC-02CP.html
Japanese Taste https://japanesetaste.com/products/hario-v60-glass-coffee-dripper-with-olive-wood-1-to-2-cups-vdg-01-ov

Leave a comment